Pages in the Table of Contents
ProProfs Knowledge Base allows you to organize, edit, and manage pages in the table of contents to enhance the end-user experience.
You get multiple quick settings in the ToC that allow you to manage all pages seamlessly.
The page settings will help you:
-
Improve user navigation.
-
Reduce time in locating the correct information.
-
Enhance the overall appearance of the help center.
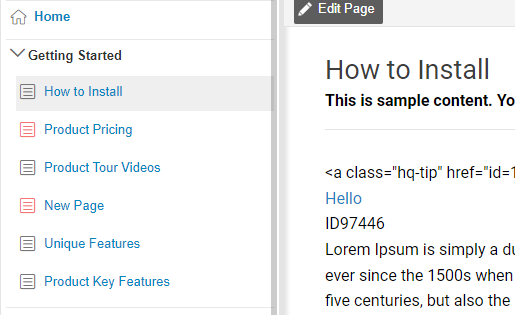
Preview of Pages in the ToC
- Adding a Page to the Table of Contents
- Icons
- Hiding a Page from the Table of Contents
- Renaming a Page
- Context Menu (Right-Click)
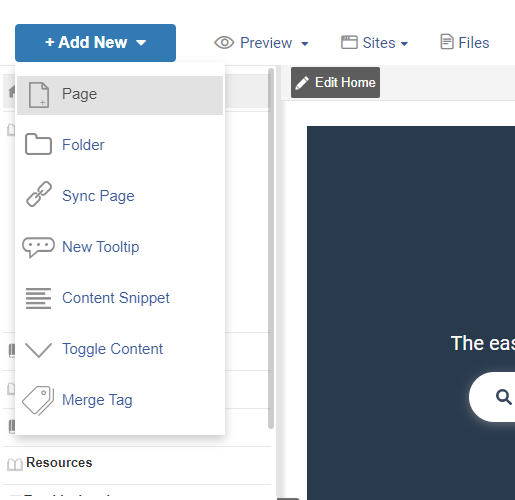
Adding a Page to the Table of Contents
-
Go to +Add New > Page in the toolbar.
-
Select a template or create one from scratch. A new page will get added to the table of contents (and the content editor for the new page opens).
-
Enter a name for the page, and click outside the text input field to save the new page name.
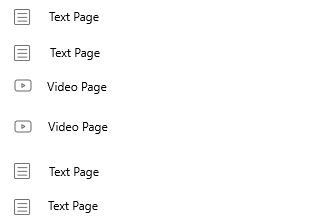
Page Icons
Here are the icons for pages that you will see in the table of contents (you can turn off the icons in the Settings section).
In the editor,

On the live site,
Hiding a Page from the Table of Contents
A page appears in the table of contents by default. However, you can hide a page from the table of contents by following the below steps.
-
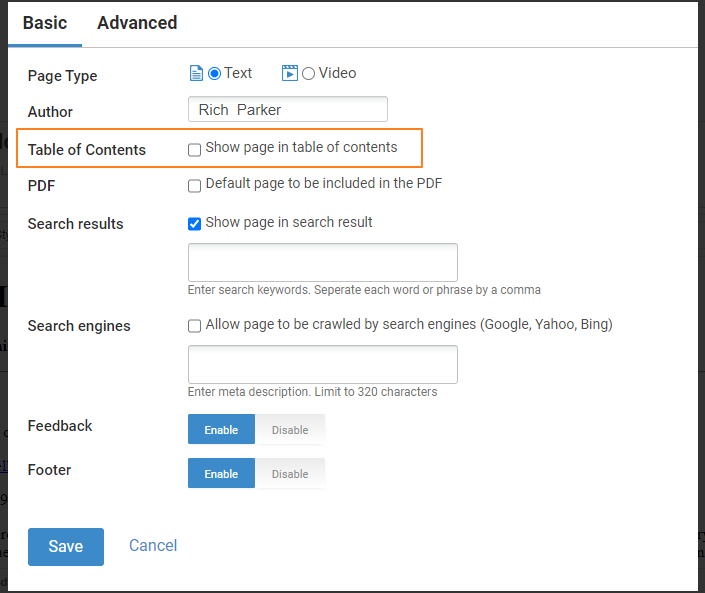
When editing a page, click the gear icon to access additional settings from the page details.
-
To remove the page from the table of contents, uncheck "Show page in table of contents." It will hide the page from the table of contents.
-
To add the page back to the table of contents, check "Show page in table of contents."
-
If you hide a page from the table of contents, you can always find it in the view all pages grid.
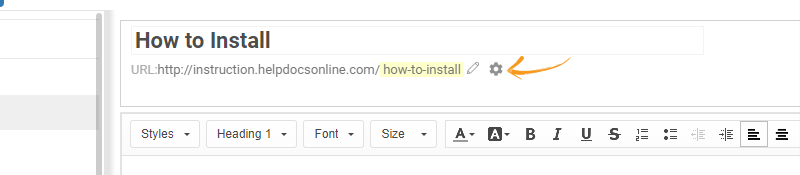
Renaming a Page
-
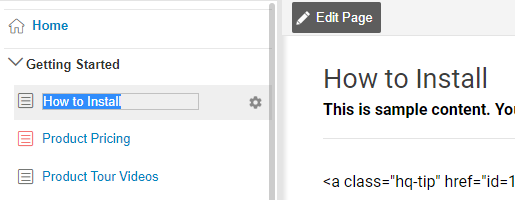
To rename a page, right-click on the name in the ToC or hover your mouse to the page name and click the gear icon.
-
Select Rename from the dropdown menu.
-
Enter the new name and click outside the text input field to save.
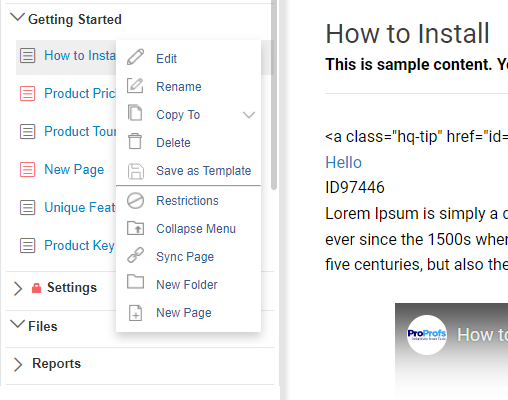
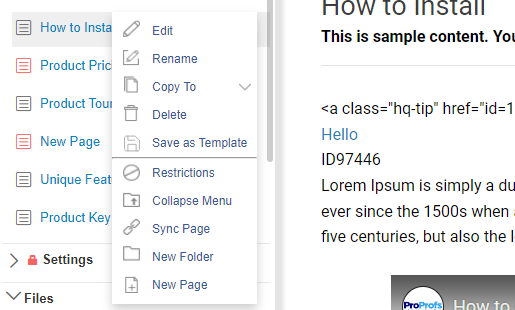
Context Menu (Right-Click)
-
Edit: Use this to open the page editor for page-related editing.
-
Rename: Change the page's name with this quick setting.
-
Copy to: Create a copy of the page on the same help site or a different one in case you have multiple help sites.
-
Delete: Deleting a page will move the page to the trash can. To permanently delete the page, the user must empty the trash can contents. You cannot delete a page that has subpages or folders. In that case, you will have first to drag out subpages from the parent page and then delete the concerned page.
-
Save as Template: Use this option to create a custom page template that you can reuse to create similar pages.
-
Restrictions: Restrict view or edit access rights of existing help site users.
-
Collapse Menu: It is folder-level customization.
-
Sync Page: Sync Page interlinks two pages with similar content but appears at different locations in the ToC. The feature helps you save time in editing them.
-
New Folder: Add a new folder in the ToC.
-
New Page: Create a subpage for the current page.
NOTE: Your user role will determine whether or not you have permission to delete pages or folders.
That is all about pages in the TOC.
Related Articles: